


Cross-Stitch for Beginners – The Complete Guide in 8 Steps
At first glance, cross stitch seems like a hobby language with its own codes: Aida count, DMC numbers, backstitch, embroidery hoops. If you're just starting out, it can often be overwhelming. The good news: you need less than you think, and you can learn the basic technique in an afternoon.
In this guide, we'll walk you through everything a beginner needs to know in 8 clear steps. By the end, you'll be stitching your first design – without frustration and without typical beginner mistakes.
Step 1: Understand what cross stitch actually is
Cross stitch is a form of counted embroidery. You stitch small X-shaped stitches onto a fabric with a clearly countable grid – usually Aida – following a counted pattern with symbols that each correspond to a thread color. You don't have to draw lines, transfer stencils, or sketch anything. You count and stitch.
That's exactly what makes it so meditative: there's nothing to improvise. You follow the pattern, and the picture emerges by itself.
Step 2: The right materials
A complete cross stitch kit is almost always a better choice for beginners than individual items. It saves you from guessing about fabric size, thread quantity, and suitable needles. In a cross stitch kit, you'll find:
- Aida fabric in a suitable size (usually 14 count for beginners)
- DMC or comparable embroidery floss in the correct colors and quantities
- Tapestry needle with a blunt tip (usually size 24)
- Counted pattern with legend and symbols
- Often also an embroidery hoop
If you're buying individual items: Aida 14ct + DMC floss + size 24 needle + a 15 or 20 cm embroidery hoop is the safe beginner combination.
Step 3: Hooping the fabric
The Aida fabric must be taut in the embroidery hoop – like a drum. Place the inner ring on a hard surface, center the fabric over it, press the outer ring down, and evenly pull the fabric all around. Tighten the screw.
Tip: Re-tighten the fabric every one to two hours to keep it taut. Loose fabric leads to uneven stitches.
Step 4: Finding the center and starting
Fold your Aida fabric once lengthwise and once crosswise – where the folds meet is the center. Most patterns have an arrow or symbol there. Always start from the center, then your design is guaranteed to fit on the fabric.
Step 5: Making the first cross stitch
A cross stitch consists of two diagonal stitches that cross to form an X:
- Come up from the back through the bottom left fabric hole
- Go down into the top right fabric hole
- Come up through the bottom right fabric hole
- Go down into the top left fabric hole
Important: Make sure all your top stitches go in the same direction. Consistency is the difference between neat and messy embroidery.
Step 6: Thread management
Embroidery floss consists of 6 strands. For 14 count Aida, you will use 2 strands. Cut about 50 cm – longer gets tangled, shorter is a waste of time.
Start without a knot: Leave a short tail on the back at the beginning, and stitch over your first stitches. This secures the start invisibly.
Step 7: Reading the pattern
Each symbol on the counted pattern represents a color. The legend tells you which symbol corresponds to which DMC number. In our guide to reading patterns, you'll find a complete explanation.
Tip: Mark already stitched areas on the pattern with a pencil or highlighter so you never lose your place.
Step 8: Finishing and care
When you're finished, you can carefully wash and iron your work (more on this in our care guide) and then frame it, stretch it, or leave it in the embroidery hoop.
What's next?
Once you've completed this project, you're officially a stitcher. For your second piece, you can either try something bigger or have a personal photo turned into a cross stitch pattern – which also makes a wonderful gift.
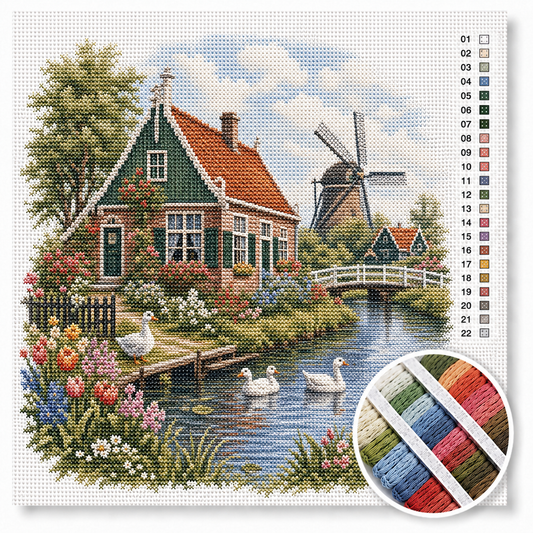
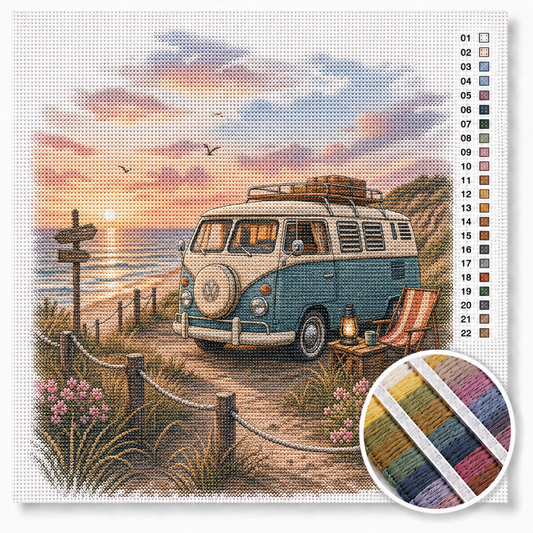
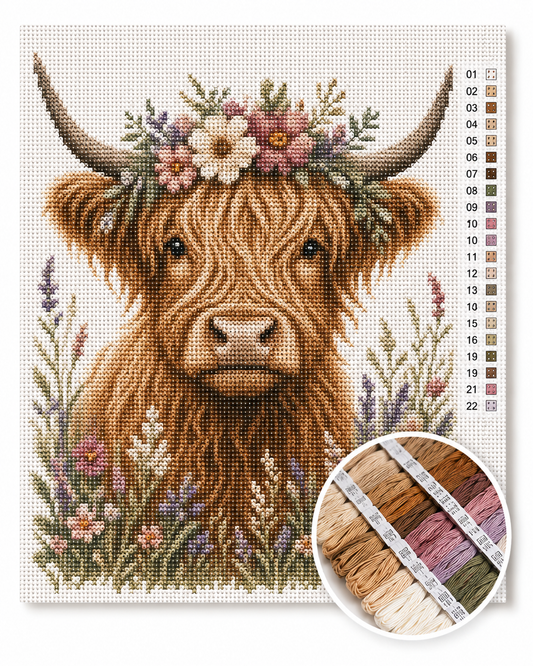
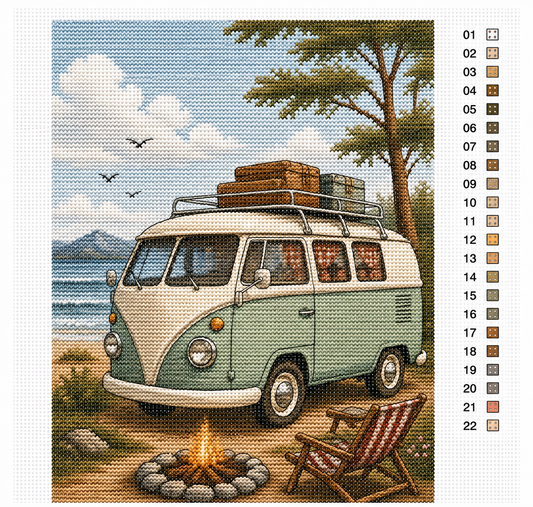
Start with a complete cross stitch kit
For beginners, a complete cross stitch kit is almost always the right choice: no guessing about fabric dimensions or DMC thread quantities. Our custom photo cross stitch kits start with your own photo and include all materials as well as step-by-step instructions. For classic designs, you can find ready-made designs in our collection.
Frequently Asked Questions
How long does it take to learn cross stitch?
You can learn the basic technique in 1–2 hours. You can complete a small beginner design in a weekend, and larger projects in several weeks.
Do I need an embroidery hoop?
Not strictly necessary, but highly recommended for beginners. A taut fabric makes for more even stitches and is easier on your hands.
Which count is best for beginners?
14 count Aida. The holes are clearly visible, 2 strands of thread fit perfectly, and you'll see quick progress.
Can I cross stitch from a photo?
Yes. Providers like Stitchly Studio convert your photo into a complete cross stitch kit with a custom pattern and all materials.