






Reading a cross-stitch pattern: symbols, color codes, and legend explained
Last updated: June 14, 2026 — by Stitchly Studio
You open a cross-stitch pattern for the first time and see… a grid full of strange symbols. Stars, diamonds, triangles, crosses—each in its own square. Don't panic: reading a cross-stitch pattern can be learned in five minutes. In this article, we'll decipher every part of a counted cross-stitch pattern together.
In brief
A good pattern = a quarter of the success. Our custom photo embroidery kits and ready-made designs come with patterns that are extra clearly laid out—large symbols, color numbers, and a color overview.
What exactly is a cross-stitch pattern?
A cross-stitch pattern (or counted pattern) is a scaled representation of your work, displayed on a grid. Each square on the grid corresponds to one cross-stitch on your Aida fabric. The symbol in that square tells you which color of thread to use there. That's it—that's the whole system.
The four fixed components of a pattern
1. The grid (the chart)
The main part of your pattern: a square grid with symbols. Always count the squares—not millimeters or centimeters. What is one square in the pattern is one cross-stitch on your fabric. Whether that is physically 2 mm (on 18ct) or 5 mm (on 11ct) makes no difference for counting.
Often you'll see a thicker line every 10 squares—these help you orient yourself. Don't count square by square from the beginning, but use these 10-line markers as anchor points.
2. The legend (color code overview)
Next to or below the grid, you'll find the legend: a table that links each symbol to a color number (or sometimes an Anchor or Madeira number). Example:
- ✱ = color 727 (soft yellow)
- ◼ = color 310 (black)
- ◆ = color 3865 (off-white)
- ○ = color 503 (soft sea green)
Sometimes the legend also includes the number of skeins needed per color—handy for your shopping list. You can read more about color codes in our guide to using DMC color charts.
3. Arrows for the center
Two small arrows on the outer edge mark the center of the pattern—vertically and horizontally. This is important because almost every cross-stitch pattern starts in the middle, ensuring your work is centered on your fabric.
4. Backstitch lines
Sometimes you'll see thin lines running over the squares. These are backstitches—a separate stitch you add after the cross-stitches. They are used for outlines, facial details, or letters. The legend tells you which color thread to use for these.
Step-by-step: how to read your first pattern
- Study the legend first. Place your threads by number next to your workspace before you begin.
- Find the center of the pattern using the arrows.
- Find the center of your fabric by folding it in half.
- Choose a color and one square in the center of the pattern. That's your starting point.
- Stitch that square, then complete one area before jumping to another color.
Prefer to practice with a crystal-clear beginner pattern?
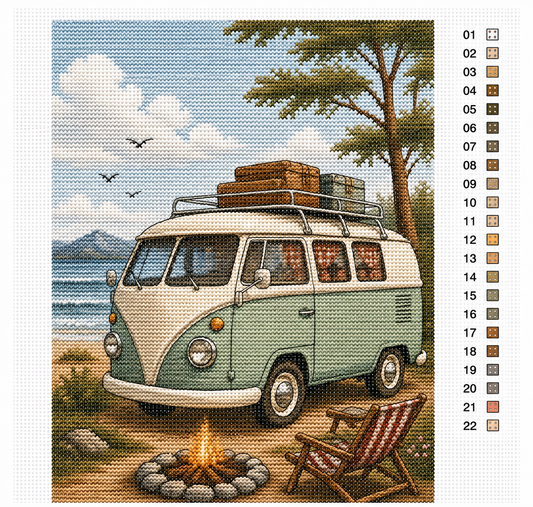
Our pre-made designs like the Lighthouse by the Sea and Tent and Campfire under the Stars have extra clear patterns with large symbols—ideal for mastering pattern reading. View all designs →
Two techniques: counting versus parking
There are two ways to complete a pattern—each with pros and cons:
Counting method (parking)
You work one color at a time and jump through the pattern. Advantage: you use less thread (no re-tying every time). Disadvantage: frustrating for patterns with many color changes.
Working by block
You work block by block, typically 10 × 10 squares, and complete all colors within each block. Advantage: very few counting errors. Disadvantage: more thread, more re-tying.
For beginners, we recommend working by block—fewer errors and you see progress faster.
Common mistakes when reading patterns
- Discovering halfway through the pattern that you've skipped a row. Prevent this by regularly counting across.
- Confusing two different symbols. Crosses (✖) and plus signs (+) look similar. Keep your legend close.
- Forgetting to switch to the correct color. If you're working a block, visually re-check the pattern before finishing the block.
- Forgetting backstitches. Always do them at the very end—never earlier.
Pro-tip: print your pattern on A3
Working with a digital pattern? Print it on A3 instead of A4. The symbols will be larger, your counting will be calmer, and you'll much less often forget where you were. Many stitchers also mark off completed areas with a fine-liner or highlighter—that helps tremendously with large patterns.
Frequently Asked Questions
What is the difference between a counted pattern and a pre-printed pattern?
With a counted pattern, the image is not on the fabric—you count and stitch on blank Aida. With a pre-printed pattern, the colors are already printed on the fabric; you stitch over them. Pre-printed is more accessible, but counted patterns are finer and result in a more beautiful final product.
What do half symbols or triangles mean?
These are half cross-stitches or quarter stitches. They primarily appear in rounded edges. You use them only once you've mastered the basic technique.
My pattern has colors instead of symbols—is that different?
Some modern patterns are colored instead of using symbols. It works fine and is very intuitive. When in doubt, black-and-white symbols remain clearly visible, even in poor lighting.
Ready to start?
The best way to practice pattern reading: a small, low-color beginner project. Check out our custom photo embroidery kit where the pattern is crystal clear and beginner-friendly, or one of our ready-made designs. Looking for a gift? Then check out our Father's Day selection. Also read our starter guide and the article on using a thread color chart for a complete onboarding.