


Finish the embroidery: frame, stretch or leave in the hoop
The last stitch is made, you set aside your needle and scissors. Congratulations – you've done it. But now comes the question that many embroiderers postpone for weeks: What do I do with my embroidery now?
There are four common options, each with its own strengths. In this guide, we explain all four – with step-by-step instructions so you can display your work in a way that suits your home.
Before presentation: clean it first
No matter which option you choose – your work must first be clean and smooth. Wash it gently in lukewarm water with a little fabric detergent, rinse well, and iron it on the back (on a terry towel, so the stitches are not flattened).
More details can be found in our Aida washing and ironing guide.
Option 1: Classic framing
The most chosen form of presentation. Your work ends up behind glass in a high-quality frame – perfect for wall decor and gifts.
How it works
- Take the work to a professional framer (cheapest option from €30) or use an IKEA Ribba/Hovsta frame for DIY
- Stretch the embroidery centrally onto acid-free cardboard
- Fix it with pins along the back, then sandwich it with the cardboard and slide it into the frame
- Anti-reflective glass is optional but recommended
Pros: Professional, protected from dust and sun.
Cons: Costs something; not as handmade.
Option 2: Stretching on cardboard (without frame)
If you prefer the modern, frameless look.
How it works
- Cut acid-free cardboard to the desired size
- Lay the embroidery over it, pull it taut around the corners
- Secure the back with acid-free tape – never on the front!
- Hang on the wall or place on a shelf
Pros: Looks modern, no glass reflection, cost-effective.
Cons: Prone to dust.
Option 3: Leave in the hoop
The trendy look of recent years. You use a beautiful wooden embroidery hoop as the final frame – done.
How it works
- Use a high-quality wooden embroidery hoop (not the working hoop)
- Stretch the embroidery taut, tighten the screw firmly
- Back: either trim excess fabric and glue, or attach as an additional fabric backing with hot glue
- Optional: felt on the back for a clean look
Pros: Bohemian, cozy, quick.
Cons: Tension can loosen over time.
Option 4: Make into a pillow
For functional embroidery – your sofa, your bed, the reading room.
How it works
- Cut the embroidery to the desired size (with seam allowance!)
- Cut a backing from matching fabric
- Place right sides together, sew 3 sides
- Turn inside out, fill with pillow stuffing, close the 4th side by hand
Pros: Functional, makes your work "live".
Cons: Sewing skills required.
Which option suits you?
- For gifts: Frame or embroidery hoop
- For modern interior design: Stretching or embroidery hoop
- For classic wall gallery: Frame
- For functional use: Pillow
Where to hang?
Avoid direct sunlight – it bleaches DMC thread. High humidity (bathroom, kitchen) is also not ideal in the long run. Best places: living room, bedroom, hallway – all without direct sun.
Pro tip: Sign your work
Before finishing, embroider your name or the year in a corner. In 30 years, this will be a valuable detail – promised.
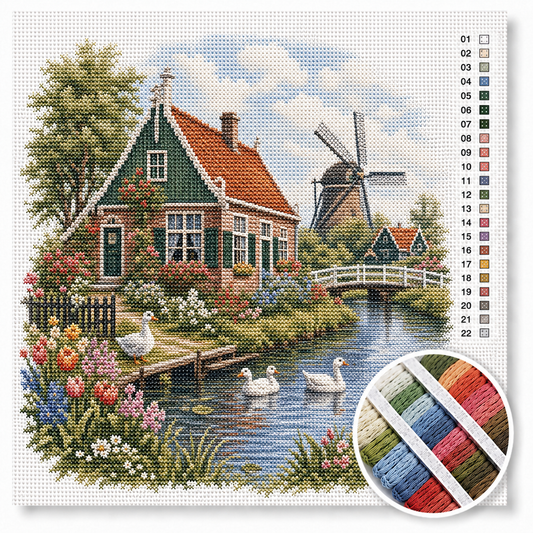
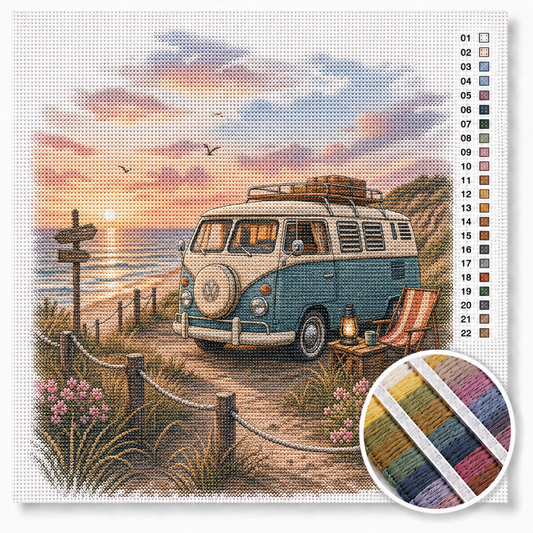
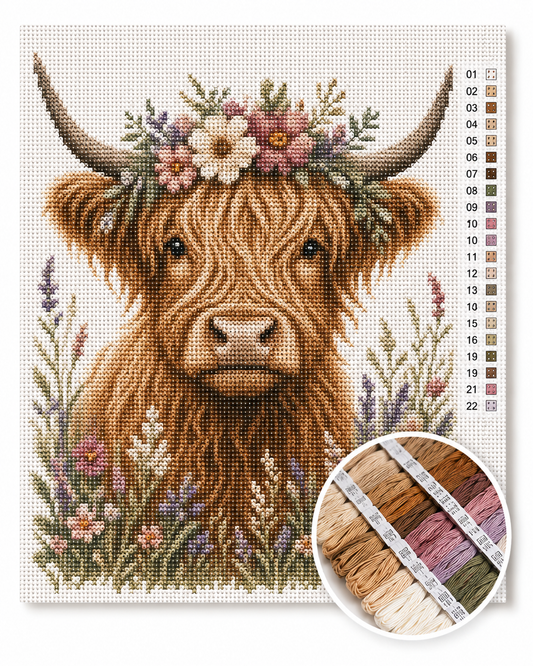
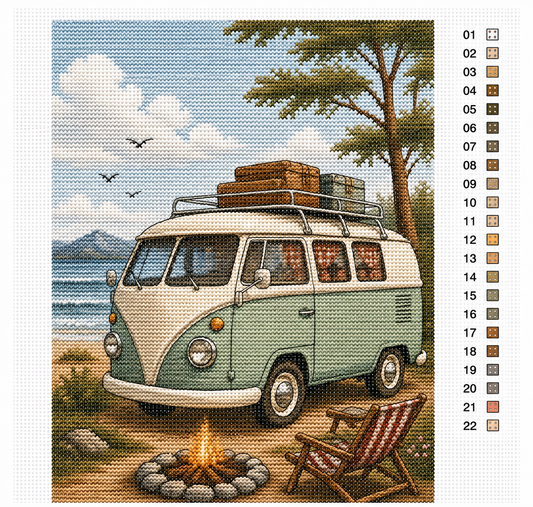
What's in your next work?
A well-designed embroidery deserves a well-designed presentation. For your next project, find inspiration in our ready-made embroidery kits or turn your own photo into a personal work that immediately deserves a place on the wall after completion.
Frequently asked questions
How do I prevent my embroidery from turning yellow?
Acid-free cardboard, anti-UV glass, and no direct sunlight. With these three measures, your work will stay fresh for decades.
Can I roll up my embroidery?
Yes, but only for a short time. For storage: roll it around an acid-free cardboard tube, with the embroidered side out.
Are audiobooks a good idea while embroidering?
Absolutely. Many embroiderers combine their hobby with podcasts or audiobooks – a perfect mix of hand and mind.
How long does an embroidery last?
With good storage and framed: 50+ years. Antique embroideries from 1900 still look beautiful today.