


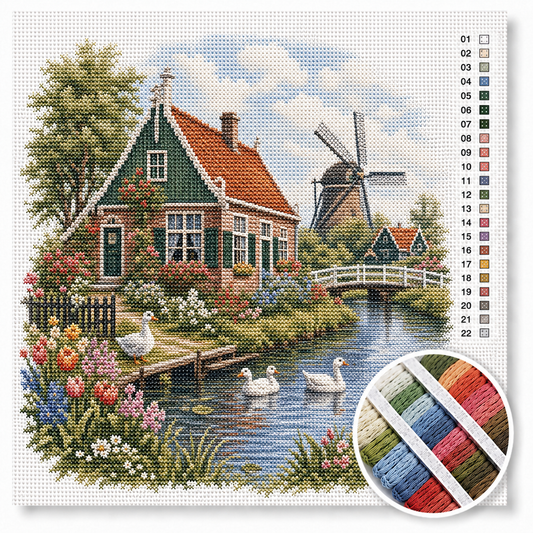

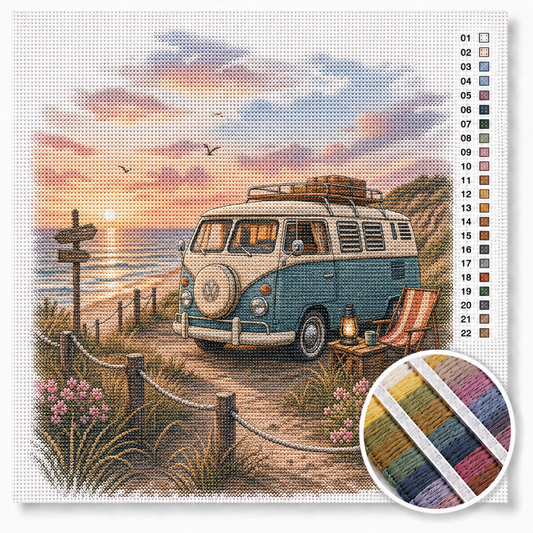
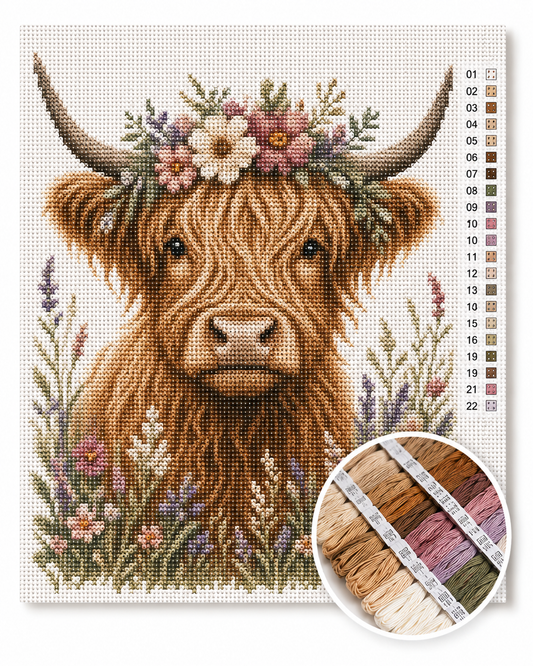

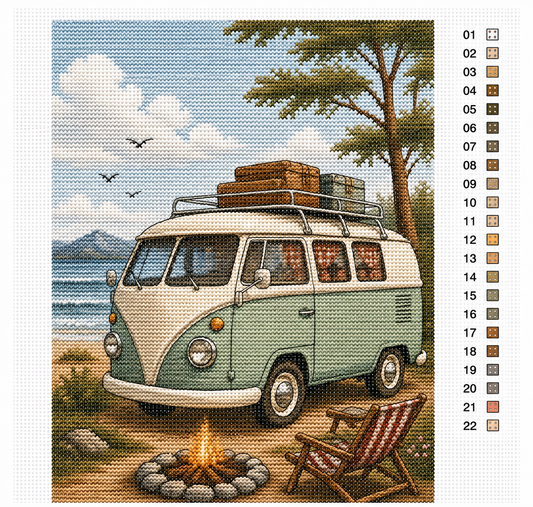

Reading Cross Stitch Patterns: Symbols, Color Codes, and Legend Explained
You open your new cross stitch pattern and see a grid full of strange symbols. A square, a star, a triangle, a dot – all in black and white. Where do you even begin?
The good news: a cross stitch pattern is actually simpler than it looks. You just need to understand three things – the grid, the legend, and the backstitch lines. This guide will show you exactly how.
What exactly is a cross stitch pattern?
A cross stitch chart (also called a "pattern") is a graphic guide. Each square in the grid corresponds to a hole in the Aida fabric – meaning one cross stitch. The symbol in the square tells you which color to stitch at that spot.
It's not a 1:1 image of your finished work. It's a blueprint that documents every single 'X' on the fabric.
The three main parts of a pattern
1. The Grid (Chart)
The large image with the symbols. Each square = one cross stitch. The bold lines every 10 squares help you count. The arrows on the edge mark the center of the design.
2. The Legend
A list that assigns each symbol to a color. It typically looks like this:
- ■ — DMC 310 — Black
- ● — DMC 666 — Bright Red
- ▲ — DMC 700 — Emerald Green
The DMC number is the key to buying thread. Find out more in our DMC Color Chart Guide.
3. The Backstitch Lines
Thin solid lines on the grid are not cross stitches, but backstitch – the outlines you stitch at the end to give your work depth.
How to read the pattern step by step
Step 1: Find the Center
Look for the arrows on the top and side edges of the chart. Where they meet is the center of the design. Always start here – not in a corner. This ensures the design is centered on your fabric.
Step 2: Count Your Starting Point
Fold your Aida fabric once lengthwise and once crosswise. The intersection is the fabric center. Connect it with the chart center: this is where your first needle goes in.
Step 3: Work in Blocks of One Color
Most stitchers don't stitch symbol by symbol, but block by block in one color. Find all squares with the same symbol in an area and stitch them together before changing colors. This saves thread and time.
Step 4: Backstitch Last
Backstitch is always done as the last step – after all cross stitches. You only need 1 strand of thread (instead of 2 for cross stitch) and you stitch along the solid lines of the chart.
Common Symbol Confusions
Half Symbols or Triangles
If you see a symbol in only one corner of a square, that's a half cross stitch or 1/4 stitch. These are used in detailed areas (e.g., soft contours or faces).
Two Symbols in One Square
Sometimes two symbols share a square – then it's a divided stitch: two half stitches in different colors.
French Knots
Small filled circles with a dot in the middle are French knots – small 3D accents. These are stitched separately, often at the end.
Pro Tips for Reading Patterns
- Mark already stitched areas with a pencil or highlighter directly on the chart – never lose your place again.
- Use a ruler holder or a magnetic board to keep your current row marked.
- For large patterns: copy the chart and work on the copy to keep the original clean.
- Double-count the squares before starting a new color – stitching two stitches too far is the most common beginner trap.
What to do if you miscounted?
It happens to everyone – even pros. Carefully unpick the wrong area with a fine seam ripper or small scissors, pull out the threads from the back, and re-stitch. Take your time: damaging the fabric hurts.
Ready for your first project?
If you've understood this, you can read any cross stitch pattern in the world. For your first project, we recommend a complete cross stitch kit – you'll get the pattern, fabric, thread, and needle all in one package.
Ready to test a pattern?
For your first cross stitch pattern, we recommend a kit with clear, tested instructions. Our ready-made cross stitch kits are specifically optimized for beginners: fewer than 12 colors, clear symbol legends, and a chart that's easy to start from the center. Or turn your own photo into a complete pattern with its own legend.
Frequently Asked Questions
How do I read colored cross stitch patterns?
Colored charts show colors instead of symbols. The principle remains: each color = a DMC code from the legend. Some stitchers find colored charts clearer; others prefer symbols because they are easier to read in less well-lit areas.
What do the numbers on the edge of the chart mean?
The numbers are counting marks – they show every 10 squares so you can quickly count large areas.
Can I mirror a cross stitch pattern?
Yes, but be careful with letters or numbers – they will also be mirrored.
How large will my stitched area be?
Divide the number of squares by the count. For 100 squares on 14 count Aida: 100/14 = approx. 18 cm. This way, you always plan for the correct fabric size.