






What is a cross-stitch chart? How counted cross-stitch works (complete beginner's guide 2026)
Are you new to embroidery or considering a new cross-stitch project? Then sooner or later you'll encounter the term counted cross stitch pattern. But what exactly is a counted cross stitch pattern, and how does it differ from a pre-printed kit where the design is already on the fabric? In this guide, we'll explain it calmly and in understandable language. By the end, you'll know exactly what a counted cross stitch pattern is, how to read it, what you need, and how you can make your first stitches tonight — whether it's a digital PDF pattern or a paper version.
Table of Contents
- What exactly is a counted cross stitch pattern?
- Counted cross stitch pattern vs pre-printed embroidery kit
- Reading a counted cross stitch pattern: grid, symbols, and legend
- What materials do you need?
- PDF counted cross stitch pattern or paper — which is more convenient?
- Step-by-step: how to follow your first counted cross stitch pattern
- Who is a counted cross stitch pattern for (and who is it not for)?
- Frequently asked questions
What exactly is a counted cross stitch pattern?
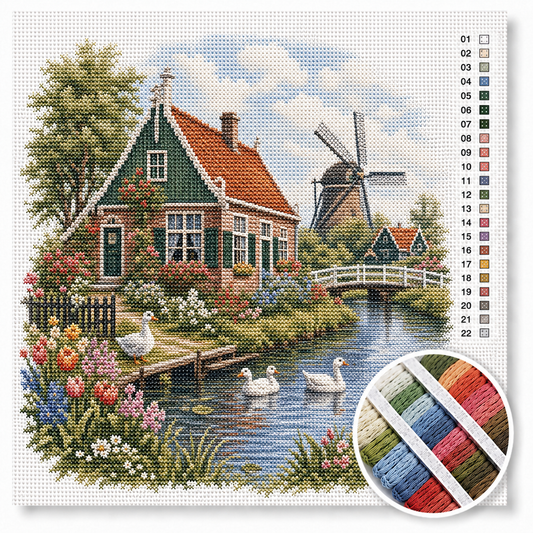
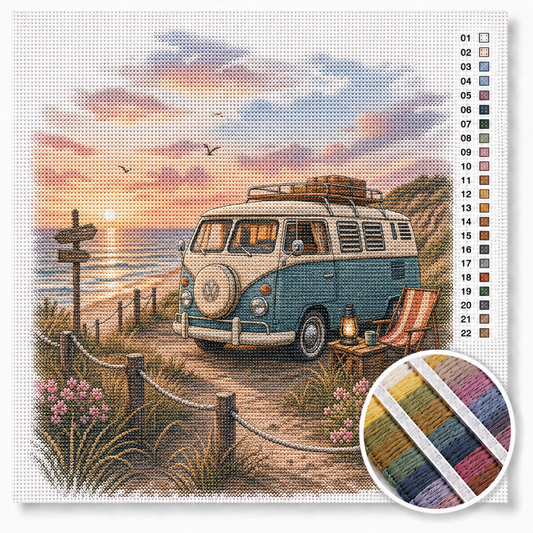
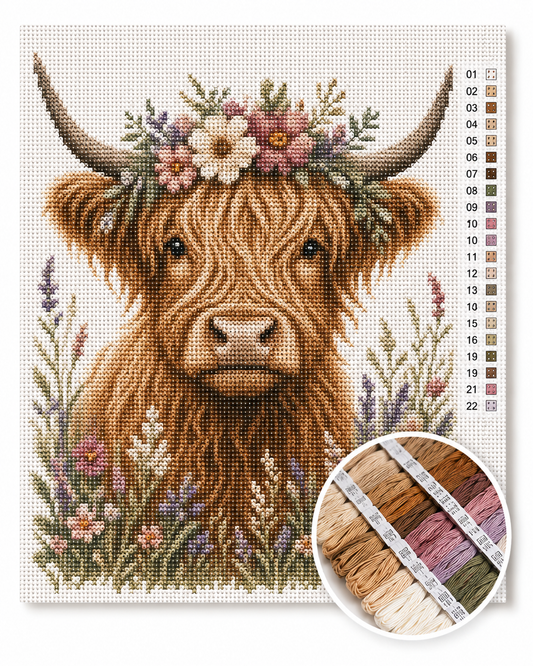
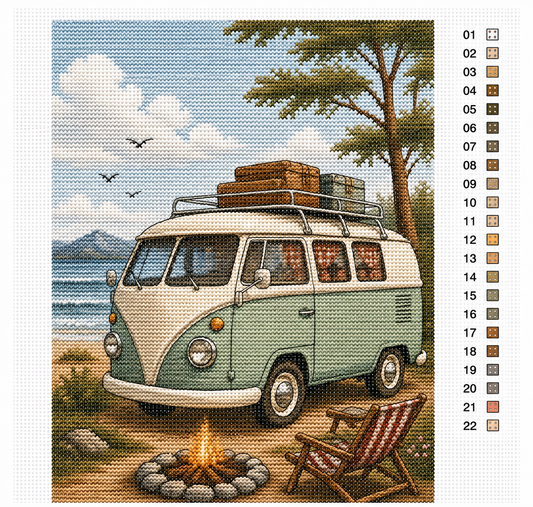
A counted cross stitch pattern — in English, counted cross stitch pattern — is a schematic representation of the design you are going to embroider, drawn on a grid. Each square in that grid corresponds to one cross stitch on your fabric. The squares contain symbols or colors that indicate which color of thread you should use.
The difference from a pre-printed embroidery kit: with a counted cross stitch pattern, the design is not printed on the fabric. You start with a blank piece of Aida or linen and you count each stitch yourself according to the pattern. Hence the name: counted pattern.
Counted cross stitch patterns are now often supplied as a digital PDF file that you download immediately after your order. Some patterns come printed on paper in a kit with fabric and thread included. Others you buy separately, so you can choose your own materials.
Counted cross stitch pattern vs pre-printed embroidery kit
In a nutshell: with a pre-printed kit, you embroider over lines that are already on the fabric; with a counted cross stitch pattern, you embroider from scratch on a blank fabric, with the chart next to you. Both have their own charm — and we have both in our assortment.
A quick comparison:
| Counted Cross Stitch Pattern | Pre-printed | |
|---|---|---|
| Fabric | Blank Aida or linen | Pattern already on the fabric |
| Learning Curve | Slightly steeper | Very accessible |
| Freedom in materials | High (choose your own Aida/color) | Limited (everything included) |
| End Result | Neat and sharp | Charming, with washable ink residue |
| Reusable | Yes (digital or printed) | No — one-time kit |
| Price Point | Often more affordable (pattern only) | Complete kit |
Do you want extensive help choosing? Read our blog counted cross stitch pattern vs pre-printed embroidery kit: which type suits you? — it contains a complete decision tree in four questions.
Reading a counted cross stitch pattern: grid, symbols, and legend
At first glance, a counted cross stitch pattern might seem overwhelming, but the system is simple once you get the hang of it. A counted cross stitch pattern always consists of three parts:
- The grid. Each square is one cross stitch. Empty squares mean: you do not stitch here.
- The symbols or color blocks. Each square contains a symbol (triangle, star, heart) or a color block. Each symbol or color represents a specific thread color.
- The legend. The legend links each symbol to a DMC color number. DMC is by far the most commonly used thread brand for cross stitch.
For extra details, there are sometimes thin lines between squares — that is a backstitch that emphasizes outlines. Dots indicate French knots: wrapped knots.
A golden tip: print your counted cross stitch pattern on A4 or A3 and cross off each finished square with a highlighter. This way, you'll never lose your place. A more extensive explanation can be found in our guide on how to read a cross-stitch pattern.
What materials do you need?
A counted cross stitch pattern itself is just the chart — you still need fabric, thread, and some small tools to get started. Here's the basic equipment:
Aida fabric
Aida is the fabric for cross-stitch: a woven structure with a clear grid of holes, perfect for beginners. The "count" indicates how many crosses fit per inch (2.54 cm). For your first project, we recommend 14 count Aida — not too coarse, not too fine. Read more about this in our guide Aida fabric explained: 11ct, 14ct, 16ct or 18ct?.
DMC Embroidery Floss
DMC stranded cotton consists of 6 individual strands that you can separate. For 14 count Aida, you typically use 2 of the 6 strands. The color number in the legend of your counted cross stitch pattern refers directly to the DMC system. See also: using a DMC color chart and how many strands per cross stitch?.
Tapestry needle
Use a tapestry needle (embroidery needle with a blunt tip). It glides through the holes of the Aida without damaging fibers. For 14 count, needle size 24 is ideal — more in our needle size guide.
Embroidery hoop and scissors
A wooden or plastic embroidery hoop of 12-15 cm keeps your fabric taut — this ensures even stitches. Which size is right for your project? Check the guide choosing an embroidery hoop. And small sharp scissors are indispensable for your thread.
PDF counted cross stitch pattern or paper — which is more convenient?
More and more counted cross stitch patterns are supplied as a PDF download. The advantages of this:
- Immediately available after payment — no waiting time
- Unlimited printing, in the size you want (A4, A3, enlarged)
- Can be opened in apps like Pattern Keeper, which allows you to track your progress digitally
- No shipping costs — good for your wallet and the environment
A paper pattern is nice if you like to have something tangible in your hands, but you are limited to one format and can only write on it once. At stitchlystudio.com, we provide our ready-to-use PDF counted cross stitch patterns directly as a download after purchase — so you can start tonight.
Step-by-step: how to follow your first counted cross stitch pattern
- Find the center. Fold your Aida into quarters — the intersection is your center. On your counted cross stitch pattern, you'll usually find the center with small arrows on the sides.
- Stretch the fabric in your hoop. Tight as a drum — this makes for the neatest stitches.
- Start in the middle. This way you work from the inside out and your design stays centered on the fabric.
- Make your first cross stitch. Stitch from bottom to top through the bottom left hole, then diagonally to the top right. Then from bottom right to top left — that forms your X.
- Work by color or by block. Some embroiderers first make all X's of one color in a 10x10 block. Others work X by X. Try both and choose your preference.
- Mark off in your pattern. Mark each finished block in your PDF or printed version as soon as it's done.
Made a mistake? Don't panic — read our guide on how to neatly fix a cross stitch mistake.
Who is a counted cross stitch pattern for (and who is it not for)?
A counted cross stitch pattern is the perfect choice if you:
- Are looking for the artisanal feeling of "building from scratch"
- Want to experiment with different fabrics or thread colors
- Want to embroider one pattern multiple times (to give as gifts!)
- Want a digital pattern that you can open on your phone or tablet
- Want to engage a bit more with technique and concentration
A pre-printed embroidery kit is better if you:
- Have never embroidered before and don't want to count
- Want quick certainty about the end result
- Are looking for a complete kit with everything included
Are you undecided between the two? Our honest decision aid for counted cross stitch pattern vs pre-printed will help you further. And if you want a kit right away: check out the ready-made designs.
Ready to start?
You now have the complete basics: you know what a counted cross stitch pattern is, how to read it, and what you need. The next step? Choose a design that makes your heart beat faster.
👉 Want to start quickly? Check out our PDF counted cross stitch patterns — instant download, you can start tonight.
👉 Prefer a complete kit with fabric and thread? Our pre-printed embroidery kits contain everything you need.
👉 Completely personal? Turn your favorite photo into your own counted cross stitch pattern.
Frequently asked questions
What is the difference between cross stitch and a counted cross stitch pattern?
Cross stitch is the embroidery technique (the X-shaped stitch). A counted cross stitch pattern is the chart you follow to place those cross stitches in the correct spot. So, you embroider in cross stitch, with a counted cross stitch pattern.
Can I use a counted cross stitch pattern even if I am a beginner?
Yes, absolutely. Choose a pattern with few colors (5-10) and a small size, around 10x10 cm. Our beginner's collection is specially curated for this.
What Aida size fits my counted cross stitch pattern?
Calculate it like this: number of crosses in width ÷ count = width in inches. Multiply by 2.54 for centimeters and add 5-10 cm all around for finishing. For example: 140 crosses ÷ 14 count = 25 cm.
How much thread do I need for a counted cross stitch pattern?
As a rule of thumb: one DMC skein of 8 meters is sufficient for approximately 1000 cross stitches with 2 strands on 14 count. Always buy an extra skein per color — dye lots can differ subtly.
How long does a counted cross stitch pattern take?
An average embroiderer makes 100-150 cross stitches per hour. A 100x100 pattern (10,000 cross stitches) will then take about 65-100 hours. More on this: how long does a cross stitch take?